Are you looking to add a unique touch to your wardrobe that reflects your style and personality? Your Chrome Heart hat can be more than just an accessory; it can be a canvas for your creativity. In this article, we will explore the exciting world of DIY customization for Chrome Heart hats, empowering you to stand out in the crowd with a one-of-a-kind headpiece.
The Power of Personalization
Customization has become a cornerstone of modern fashion. It allows you to transform everyday items into unique, personal statements of style. Chrome Heart hats, with their iconic designs, are the perfect starting point for this creative endeavor. When you customize your Chrome Heart hat, you’re not only making a fashion statement but also crafting an extension of your own identity.
Tools and Materials You’ll Need
6. Palette
A palette will help you mix and blend colors to achieve the exact shade you desire.
7. Creativity
Most importantly, bring your creativity to the table. Think about the design or artwork you want to feature on your Chrome Heart hat and let your imagination run wild.
The Customization Process
Now that you’ve gathered your supplies, it’s time to dive into the customization process. Here’s a step-by-step guide to personalizing your Chrome Heart hat:
Step 1: Design Your Hat
Before you start painting, plan your design. Whether it’s abstract art, a favorite quote, or a depiction of your hobbies and interests, sketch out your vision on paper.
Step 2: Clean Your Hat
Ensure your Chrome Heart hat is clean and free of any dust or dirt that may interfere with the painting process.
Step 3: Apply Painter’s Tape
Use painter’s tape to mask off any areas of the hat that you want to keep as they are, creating a clean canvas for your customization.
Step 4: Start Painting
Dip your brushes into the fabric paints and begin painting your design. Take your time, and don’t rush the process. Multiple thin layers of paint are often better than one thick coat.
Step 5: Add Details
If your design includes intricate details, use smaller brushes or stencils to ensure precision.
Step 6: Let It Dry
Allow your customized Chrome Heart hat to dry thoroughly. Depending on the type of fabric paint you use, this may take a few hours to a full day
Step 7: Seal Your Artwork
To protect your masterpiece, consider using a fabric sealant. This will help your customization withstand wear and tear.
Step 8: Flaunt Your Style
Once your hat is dry and sealed, it’s time to proudly wear your creation and show off your unique style to the world.
Inspiration for Customization
If you’re looking for ideas to kickstart your DIY Chrome Heart hat customization, here are some popular themes:
- Pop Culture: Feature your favorite movie, TV show, or music references.
- Nature and Wildlife: Paint beautiful landscapes, animals, or plants.
- Quotes and Sayings: Express your personality through powerful words.
- Abstract Art: Let your creativity flow with abstract patterns and colors.
- Sports and Hobbies: Showcase your passion for sports or hobbies.
If you’re not confident in your freehand painting skills, stencils can be your best friend. They enable you to create precise designs with ease.
5. Painter’s Tape
Use painter’s tape to mask off areas you don’t want to paint, creating clean, sharp lines and boundaries.
6. Palette
A palette will help you mix and blend colors to achieve the exact shade you desire.
7. Creativity
Most importantly, bring your creativity to the table. Think about the design or artwork you want to feature on your Chrome Heart hat and let your imagination run wild.
The Customization Process
Now that you’ve gathered your supplies, it’s time to dive into the customization process. Here’s a step-by-step guide to personalizing your Chrome Heart hat:
Step 1: Design Your Hat
Before you start painting, plan your design. Whether it’s abstract art, a favorite quote, or a depiction of your hobbies and interests, sketch out your vision on paper.
Step 2: Clean Your Hat
Ensure your Chrome Heart hat is clean and free of any dust or dirt that may interfere with the painting process.
Step 3: Apply Painter’s Tape
Use painter’s tape to mask off any areas of the hat that you want to keep as they are, creating a clean canvas for your customization.
Step 4: Start Painting
Dip your brushes into the fabric paints and begin painting your design. Take your time, and don’t rush the process. Multiple thin layers of paint are often better than one thick coat.
Step 5: Add Details
If your design includes intricate details, use smaller brushes or stencils to ensure precision.
Step 6: Let It Dry
Allow your customized Chrome Heart hat to dry thoroughly. Depending on the type of fabric paint you use, this may take a few hours to a full day
Step 7: Seal Your Artwork
To protect your masterpiece, consider using a fabric sealant. This will help your customization withstand wear and tear.
Step 8: Flaunt Your Style
Once your hat is dry and sealed, it’s time to proudly wear your creation and show off your unique style to the world.
Inspiration for Customization
If you’re looking for ideas to kickstart your DIY Chrome Heart hat customization, here are some popular themes:
- Pop Culture: Feature your favorite movie, TV show, or music references.
- Nature and Wildlife: Paint beautiful landscapes, animals, or plants.
- Quotes and Sayings: Express your personality through powerful words.
- Abstract Art: Let your creativity flow with abstract patterns and colors.
- Sports and Hobbies: Showcase your passion for sports or hobbies.
Before embarking on your DIY customization journey, it’s essential to gather the necessary tools and materials. Here’s what you’ll need:
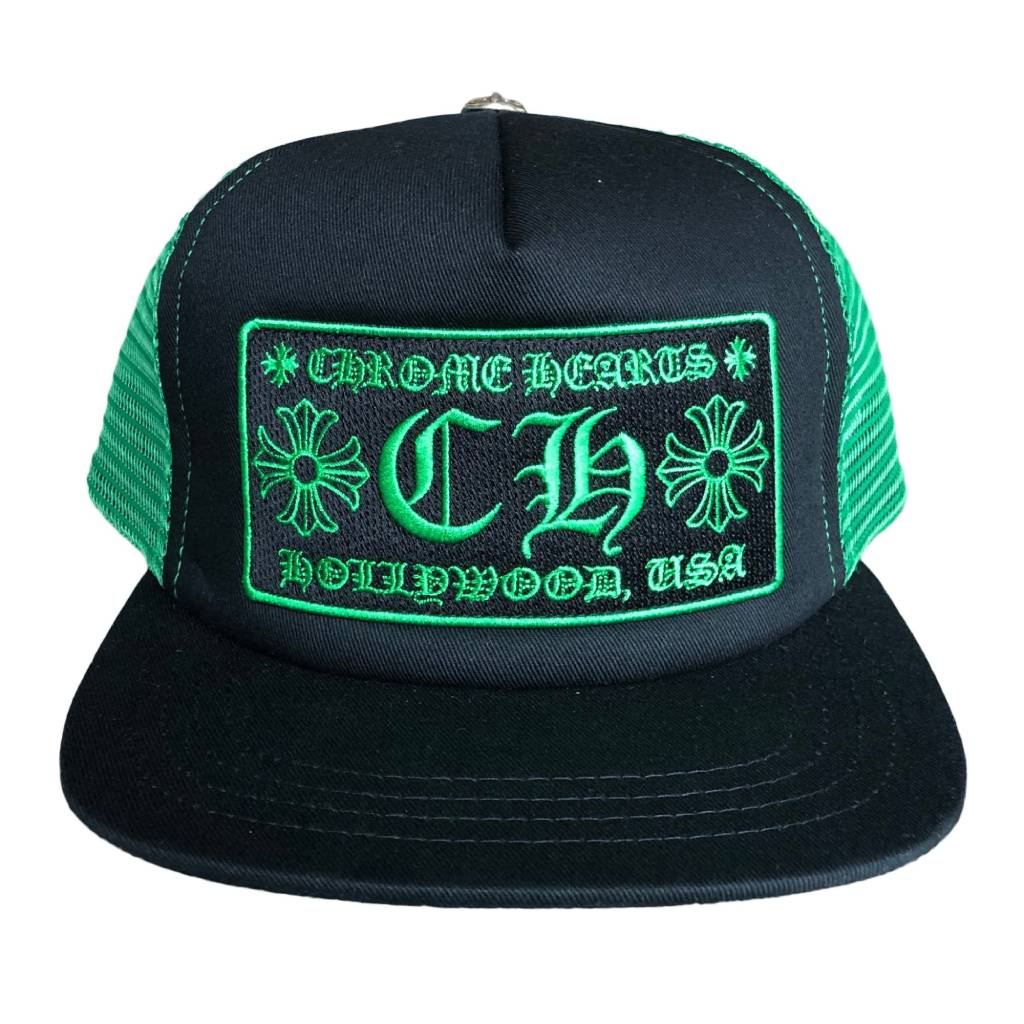
1. Chrome Heart Hat
Start with the base – a high-quality Chrome Heart hat that resonates with your personal style and preferences. The hat’s design, color, and material are the canvas upon which you’ll work your magic.
2. Fabric Paints
Choose a variety of fabric paints in colors that complement your hat. Ensure the paints are of good quality, as they will determine the longevity of your customization.
3. Brushes
Different brush sizes and shapes will help you achieve various painting techniques, from broad strokes to intricate details.
4. Stencils
If you’re not confident in your freehand painting skills, stencils can be your best friend. They enable you to create precise designs with ease.
5. Painter’s Tape
Use painter’s tape to mask off areas you don’t want to paint, creating clean, sharp lines and boundaries.
6. Palette
A palette will help you mix and blend colors to achieve the exact shade you desire.
7. Creativity
Most importantly, bring your creativity to the table. Think about the design or artwork you want to feature on your Chrome Heart hat and let your imagination run wild.
The Customization Process
Now that you’ve gathered your supplies, it’s time to dive into the customization process. Here’s a step-by-step guide to personalizing your Chrome Heart hat:
Step 1: Design Your Hat
Before you start painting, plan your design. Whether it’s abstract art, a favorite quote, or a depiction of your hobbies and interests, sketch out your vision on paper.
Step 2: Clean Your Hat
Ensure your Chrome Heart hat is clean and free of any dust or dirt that may interfere with the painting process.
Step 3: Apply Painter’s Tape
Use painter’s tape to mask off any areas of the hat that you want to keep as they are, creating a clean canvas for your customization.
Step 4: Start Painting
Dip your brushes into the fabric paints and begin painting your design. Take your time, and don’t rush the process. Multiple thin layers of paint are often better than one thick coat.
Step 5: Add Details
If your design includes intricate details, use smaller brushes or stencils to ensure precision.
Step 6: Let It Dry
Allow your customized Chrome Heart hat to dry thoroughly. Depending on the type of fabric paint you use, this may take a few hours to a full day
Step 7: Seal Your Artwork
To protect your masterpiece, consider using a fabric sealant. This will help your customization withstand wear and tear.
Step 8: Flaunt Your Style
Once your hat is dry and sealed, it’s time to proudly wear your creation and show off your unique style to the world.
Inspiration for Customization
If you’re looking for ideas to kickstart your DIY Chrome Heart hat customization, here are some popular themes:
- Pop Culture: Feature your favorite movie, TV show, or music references.
- Nature and Wildlife: Paint beautiful landscapes, animals, or plants.
- Quotes and Sayings: Express your personality through powerful words.
- Abstract Art: Let your creativity flow with abstract patterns and colors.
- Sports and Hobbies: Showcase your passion for sports or hobbies.